Arc Length Sensing to Strengthen Certification Reproducibility
Precision heat control is essential in certification labs where AWS and ASME tests demand tight repeatability. By combining precise arc length measurements with automated heat-input control, welds stay consistent across operators and test coupons.
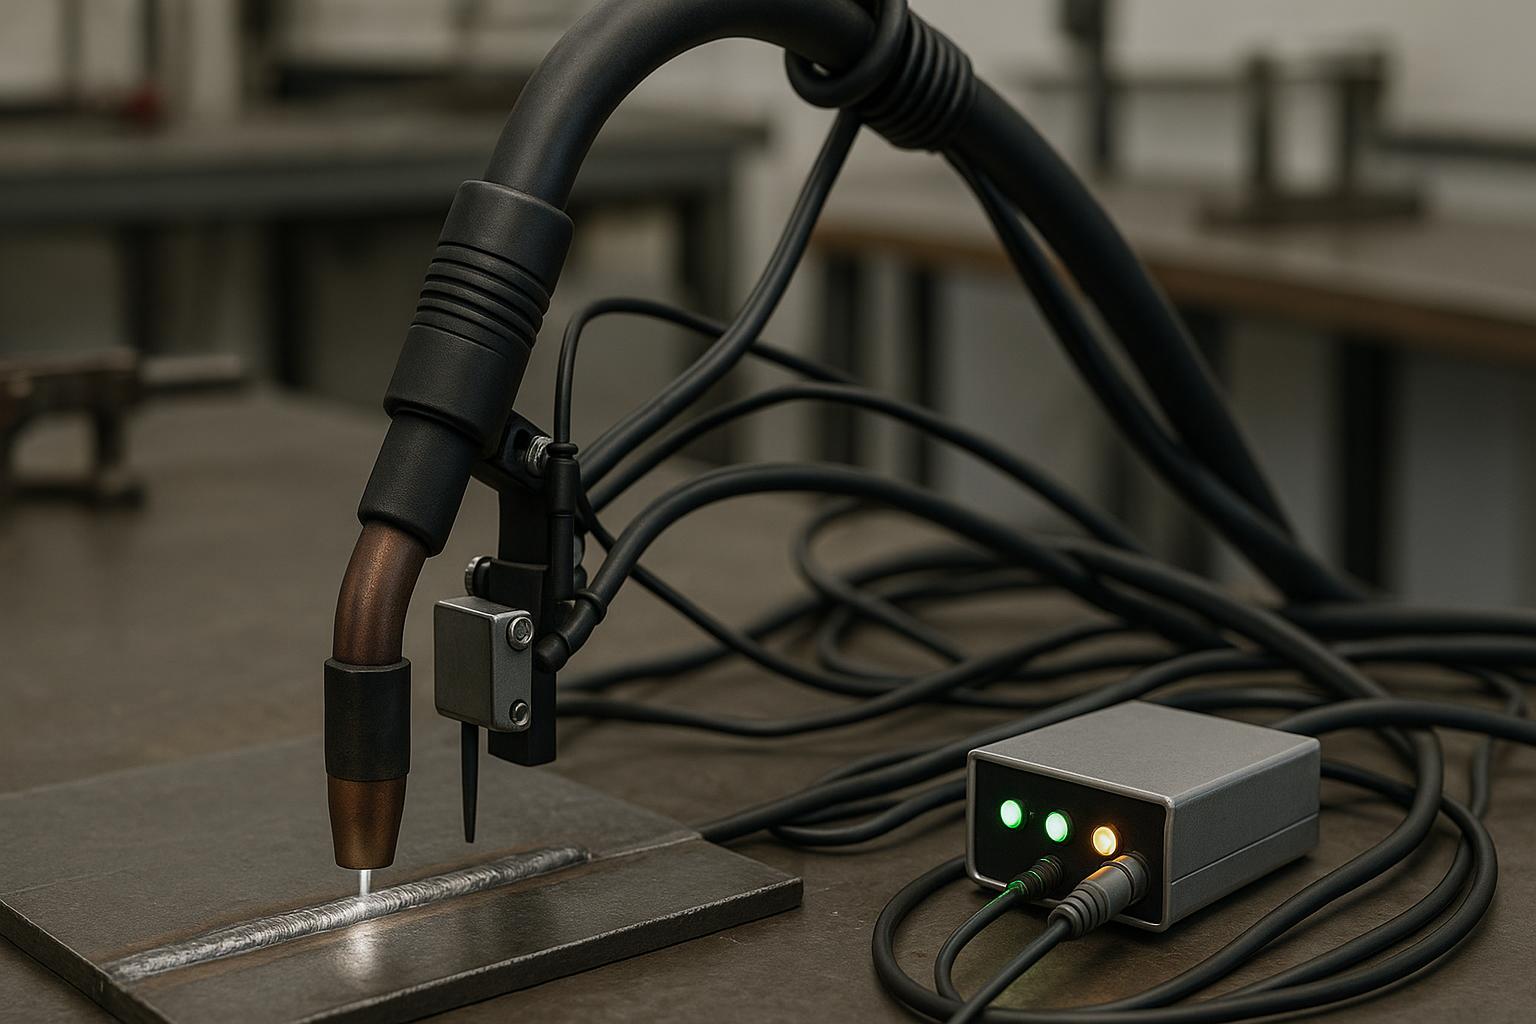
Arc length is the distance from the welding electrode to the workpiece. Small deviations change heat input, penetration, and bead geometry. Relying on the welder’s touch introduces variability. Modern arc length sensing uses sensors and feedback to maintain a target stand-off, compensating for torch angle and travel speed. For a practical look at how this plays out, see arc-length monitoring.
In practice, arc length sensing pairs with a closed-loop heat-input controller. The sensor provides real-time stand-off data, which the controller uses to modulate current and travel speed to keep the arc length within a defined tolerance. This approach is especially valuable in certification workflows where repeatability is non-negotiable. For broader context on how real-time data informs certification decisions, visit arc analytics.
Stand-off sensing helps stabilize bead geometry under changing conditions, reducing the influence of torch tilt and travel speed. Implementing a robust sensor and controller requires careful calibration and periodic checks. For readers exploring certification prep and data-driven decision making, check out data-driven certification prep.
Implementation steps for a certification lab
- Define a target arc length and acceptable heat-input window.
- Select a noncontact sensor (optical or capacitive) and mount it so it measures stand-off without interfering with the arc.
- Calibrate the sensor against a calibrated reference and validate with test coupons.
- Integrate the sensor with a control module that can adjust current and travel speed in real time.
- Document the process and include it in the certification plan for reproducibility.
Benefits for certification reproducibility
- Reduces arc length-related variation across operators
- Improves bead geometry consistency and weld penetration
- Helps meet AWS/ASME test tolerances with less manual adjustment
Tips for success: keep sensors clean, recheck calibration after tool changes, and schedule periodic validation runs to track drift over time.


